
If you’ve ever dealt with a failing septic system, you already know the nightmare. The smell. The soggy yard. The expensive emergency calls to a plumber at 7 AM on a Saturday. It’s not fun — and it’s completely avoidable with the right system from the start.
Bio septic tanks are quietly becoming one of the smartest wastewater treatment investments a homeowner can make. They’re cleaner, more efficient, and far kinder to the environment than conventional systems. And while the installation process isn’t exactly a weekend DIY project, it’s absolutely something you can understand, plan for, and manage confidently — whether you’re hiring a contractor or rolling up your sleeves yourself.
This guide walks you through everything. From understanding what a bio septic tank actually is, to pulling permits, digging the pit, connecting pipes, and getting your system certified. Consider this your complete, step-by-step bio septic tank installation guide — built for homeowners who want to get it right the first time.
What Is a Bio Septic Tank? (And Why Homeowners Are Making the Switch)
Before you dig a single shovel of dirt, it helps to understand what you’re actually installing and why it works so well.
A bio septic tank is a wastewater treatment system that goes far beyond passive storage. Instead of simply separating solids and liquids, bio septic systems use biological processes — meaning living microorganisms — to break down household sewage on-site more thoroughly and efficiently.
How a Bio Septic Tank Works
A bio septic tank handles wastewater in stages:
-
Wastewater flows in from your home through the inlet pipe.
-
In the first chamber, heavy solids settle (forming sludge) while lighter materials float as scum.
-
Liquid in the middle — the effluent — moves into a treatment zone.
-
Beneficial bacteria — typically anaerobic strains that thrive without oxygen — biologically digest organic waste, significantly reducing sludge and producing cleaner effluent.
Key Benefits of Bio Septic Systems
Bio septic systems aren’t just more modern — they’re more effective in tackling wastewater with real advantages for homeowners:
-
Cleaner effluent with fewer contaminants.
-
Significantly reduced odors compared to conventional tanks.
-
Lower long-term maintenance costs when properly maintained.
-
Better for sensitive sites where groundwater, wells, or surface water are nearby.
-
Longer useful life than many basic septic designs.
-
Often higher property value in rural and eco-conscious housing markets.
Bio Septic Tank vs. Conventional Septic Tank
|
Feature |
Bio Septic Tank |
Conventional Septic Tank |
|---|---|---|
|
Treatment Type |
Biological digestion |
Passive separation |
|
Odor |
Low |
Moderate to high |
|
Environmental Impact |
Lower |
Higher |
|
Effluent Quality |
Higher |
Moderate |
|
Maintenance |
Moderate but less frequent |
Periodic, frequent |
|
Suitability Near Water Sources |
Often yes |
Often restricted |
The upfront cost is typically higher than a conventional septic tank, but the cleanup, reduced repair needs, and longevity often justify the investment over the long haul.
Types of Bio Septic Tank Systems
The exact type of bio septic tank you choose influences your installation process:
-
Aerobic Treatment Units (ATUs): Use air injection to support aerobic bacteria — highly effective but may require electricity and more technical setup.
-
Anaerobic Systems: Rely on anaerobic bacteria — no external air supply but excellent at breaking down organic matter.
-
Biofilm Systems: Contain media on which bacteria grow and treat wastewater as it passes over the surfaces.
-
Constructed Wetlands: Use plants and soil filtration as a natural tertiary treatment stage.
Is a Bio Septic Tank Right for Your Property?
A bio septic tank is awesome — but not every property is a perfect fit.
Ideal Site Conditions
Soil type matters. Sandy loam tends to drain well. Heavy clay soils may not — and may require a modified drain field or alternative system design. Simple soil property tests (percolation tests) help you determine what you’re really working with.
Homeowners also need to consider:
-
Distance from wells and drinking water
-
Setbacks from water bodies like ponds and streams
-
Proximity to property boundaries and structures
Permits and Local Regulations
Installing a septic system without permits can lead to fines, forced removal, or denial of home resale documentation. Typical requirements include:
-
Soil evaluation and perc test
-
Site plan submission
-
Tank specifications
-
Installation approval from the local health or environmental department
Ask your authority having jurisdiction (often the county health department) for their specific requirements before you plan anything else.
Pre-Installation Planning for Your Bio Septic Tank Setup
Good planning makes an excellent installation.
Choosing the Right Tank Size
Tank capacity depends on household size. The general rule of thumb:
-
1–2 people → ~1,000 gallons
-
3–4 people → ~1,500 gallons
-
5–6 people → ~2,000 gallons
-
7+ people → ~2,500+ gallons
If your household often hosts guests or uses lots of water, go larger — undersizing leads to backups and expensive fixes later.
Selecting the Installation Site
When choosing where to install the tank:
-
Keep it downhill from the house when possible.
-
Avoid tree roots — they can damage tanks and pipes.
-
Ensure access for pump trucks for future maintenance.
-
Stay clear of driveways and paved surfaces that compact soil and hinder drain field performance.
Tools and Materials Checklist
Common tools and materials you’ll need include:
Equipment
-
Excavator or backhoe
-
Plate compactor
-
Level and measuring tools
-
Pipe cutters and PVC solvent
-
Trenching tools
Materials
-
Bio septic tank unit
-
PVC inlet/outlet pipes
-
Baffles and vent pipes
-
Gravel and soil for bedding and backfill
-
Landscape fabric
How to Install a Bio Septic Tank Step-by-Step
Here’s the installation process in 12 practical steps — organized to follow real construction order:
Step 1 — Secure Permits and Complete Site Assessments
Submit your site plan, test reports, and specifications to your local health department. Don’t build until you have written approval — installing without permits can cost far more than the system itself.
Step 2 — Mark Your Layout and Call Utility Services
Stake out your tank location, pipe routes, and drain field setbacks. Then call your utility locating service (such as 811 in the U.S.) to mark underground utilities — a crucial safety step.
Step 3 — Excavate the Tank Pit
Excavate a pit big enough for the tank plus room to work. Accurate excavation ensures correct plumbing alignment and stable placement.
-
Depth: tank height + bedding allowance
-
Width and length: tank dimensions + working room
Step 4 — Prepare Base and Foundation
A level, compact base prevents shifting. Spread crushed gravel or stone and compact it fully. For unstable soil, a concrete pad may be required.
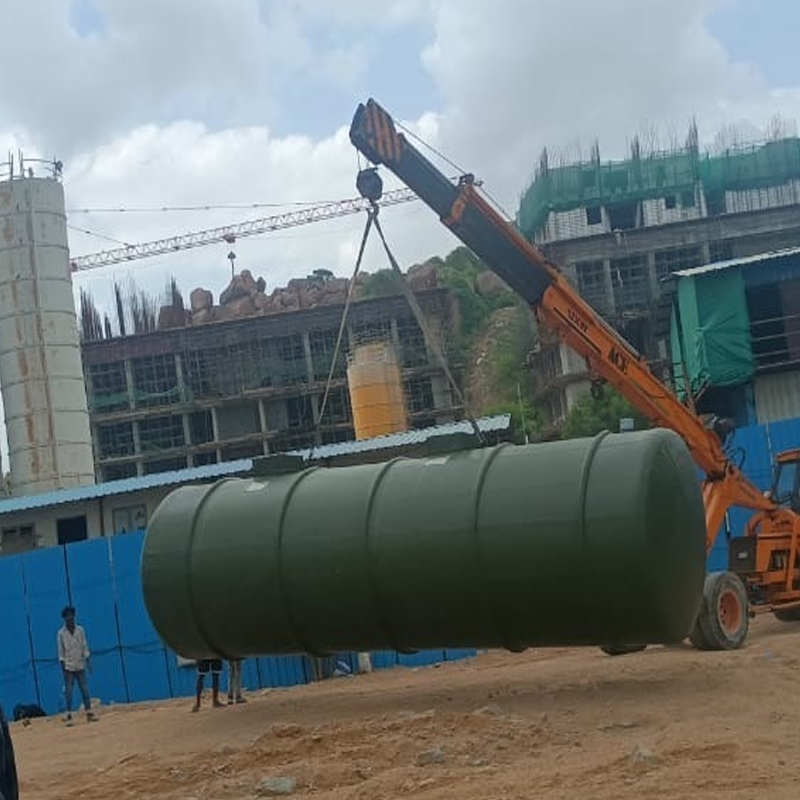
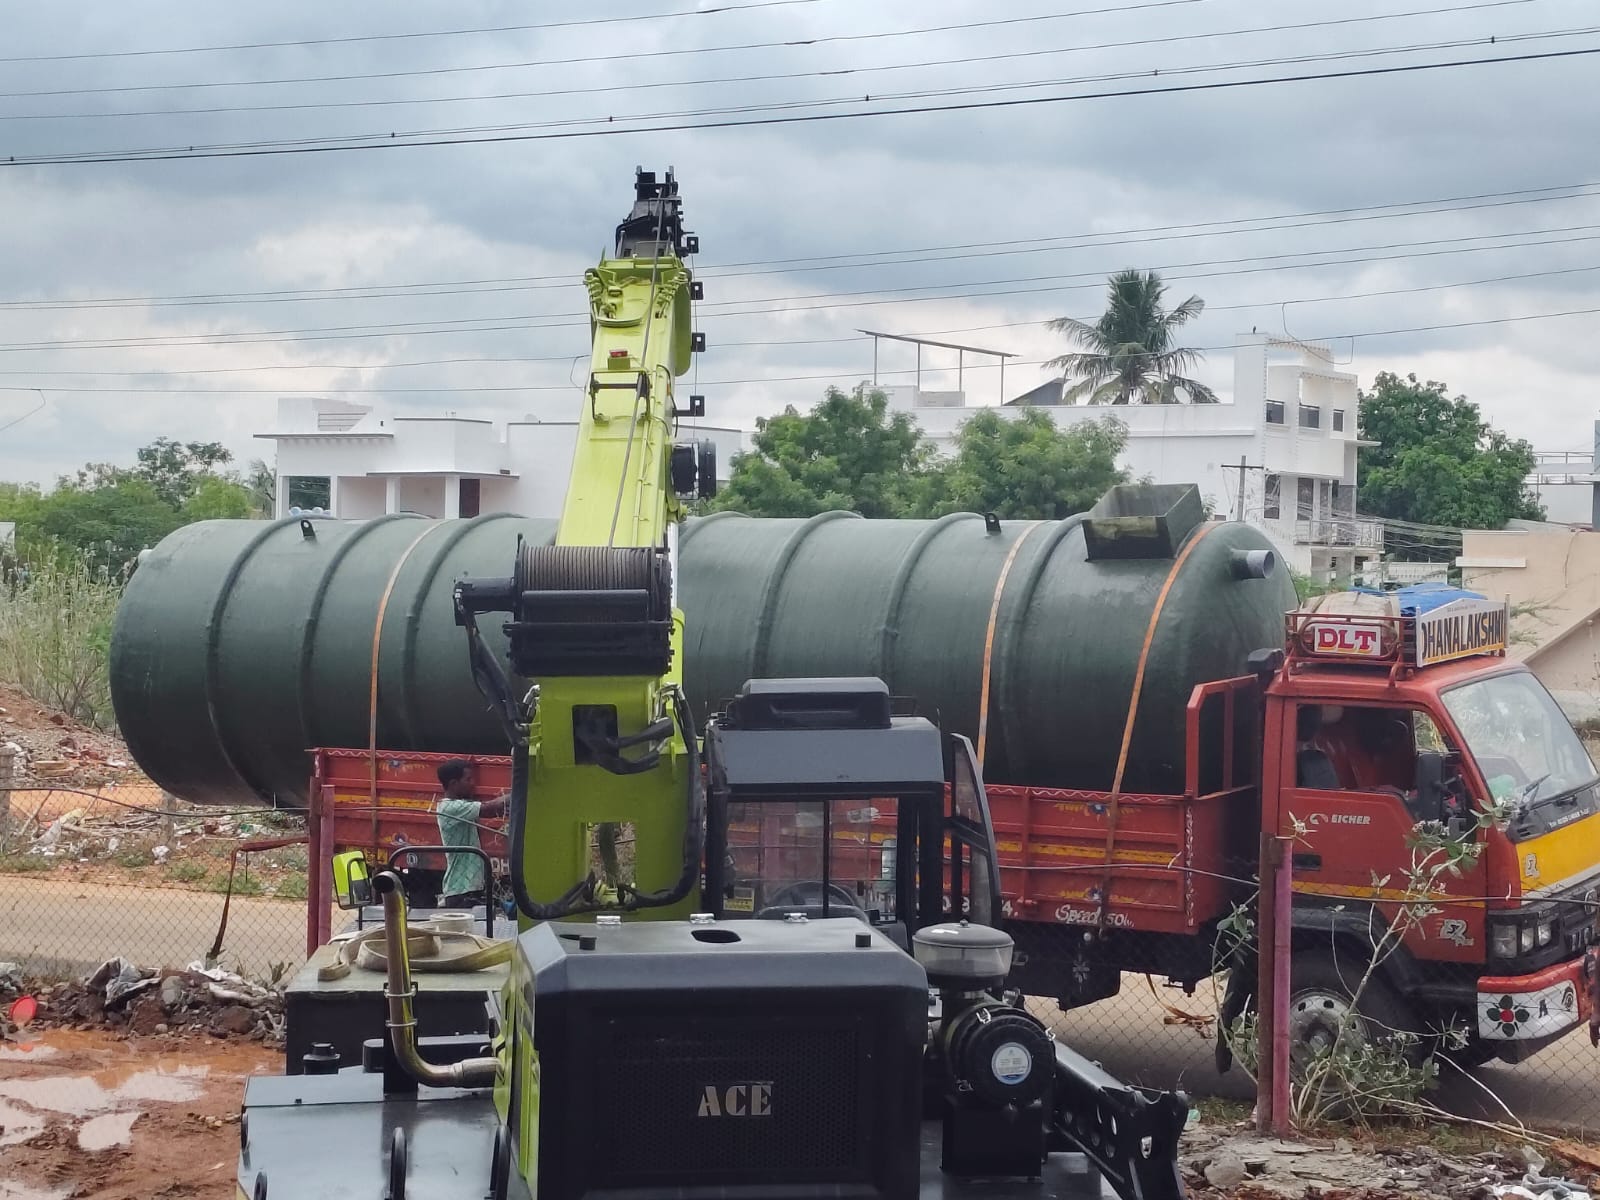
Step 5 — Place the Bio Septic Tank
Use heavy equipment to lower the tank. Orient it so the inlet faces your home and the outlet faces the drain field. Confirm it’s level in all directions before releasing.
Step 6 — Install Inlet and Outlet Pipes
Use Schedule 40 PVC (standard, durable) and maintain proper slope — approximately 1/4 inch drop per foot of pipe run to ensure gravity flow. Seal joints with flexible boots or cement-rated solvents to prevent leaks.
Step 7 — Set Up Biological Components
Install any internal media, diffusers, or aeration equipment per manufacturer instructions. For systems requiring electricity (like some aerobic units), have licensed professionals complete the electrical work.
Step 8 — Connect to Household Plumbing
Connect the sewer line from your home to the tank inlet. Keep a consistent slope and install cleanouts every 75–100 feet.
Step 9 — Install the Drain Field
Trench and lay perforated pipe on a gravel bed, ensuring pipes are oriented correctly and covered with geotextile fabric to prevent soil intrusion. Drain field size and design must match your soil conditions and permit plan.
Step 10 — Backfill Around the Tank and Pipes
Backfill carefully in layers (12-inch lifts) and compact as you go. Avoid heavy machinery directly over the tank until it’s completely covered and supported.
Step 11 — Final Grading and Restoration
Grade soil to drain surface water away from the system. Keep trees, structures, and paved areas clear of the tank and drain field to protect long-term function.
Step 12 — System Testing and Final Inspection
Run water through the system slowly, check for leaks, and verify flow from the outlet into the drain field. Your local inspector will verify compliance before issuing final approval.
Common Bio Septic Tank Installation Mistakes to Avoid
Even experienced installers make errors — and homeowners should know them:
-
Starting excavation before permits are approved
-
Improper pipe slopes
-
Poor soil compaction around the tank
-
Failing to mark or protect utilities
-
Forgetting inspection risers for future access
How to Maintain Your Bio Septic Tank After Installation
A well-maintained bio septic system serves you for decades.
Routine Maintenance Schedule
|
Task |
Frequency |
|---|---|
|
Visual inspection |
Monthly |
|
Check mechanical parts |
Quarterly |
|
Professional inspection |
Annually |
|
Tank pumping |
Every 1–3 years |
Bio septic units often accumulate less sludge than conventional tanks, but they still need periodic cleaning.
What not to flush
-
Antibacterial soaps and bleach
-
“Flushable” wipes
-
Grease and cooking oils
-
Chemicals, pesticides, paint
Is a Bio Septic Tank Worth the Investment?
In most cases, yes. Especially compared to conventional systems that offer minimal treatment and shorter lifespans, bio septic tanks provide better environmental performance, cleaner discharge, lower long-term maintenance, and improved property value.